There really is no right or wrong way to clean a handgun. There are, however, correct steps that you must take to ensure a clean and functioning firearm. Handgun’s tend to be the simplest firearm to clean, especially modern day striker fired handguns.
In this article, we will be going over how to maintain your handgun. All of the steps for cleaning your firearm should be universal. If you are not sure how to take apart your handgun, please refer to the owner's manual. If you have any other questions, please feel free to reach out to us or grab one of our instructional mats for your firearm.
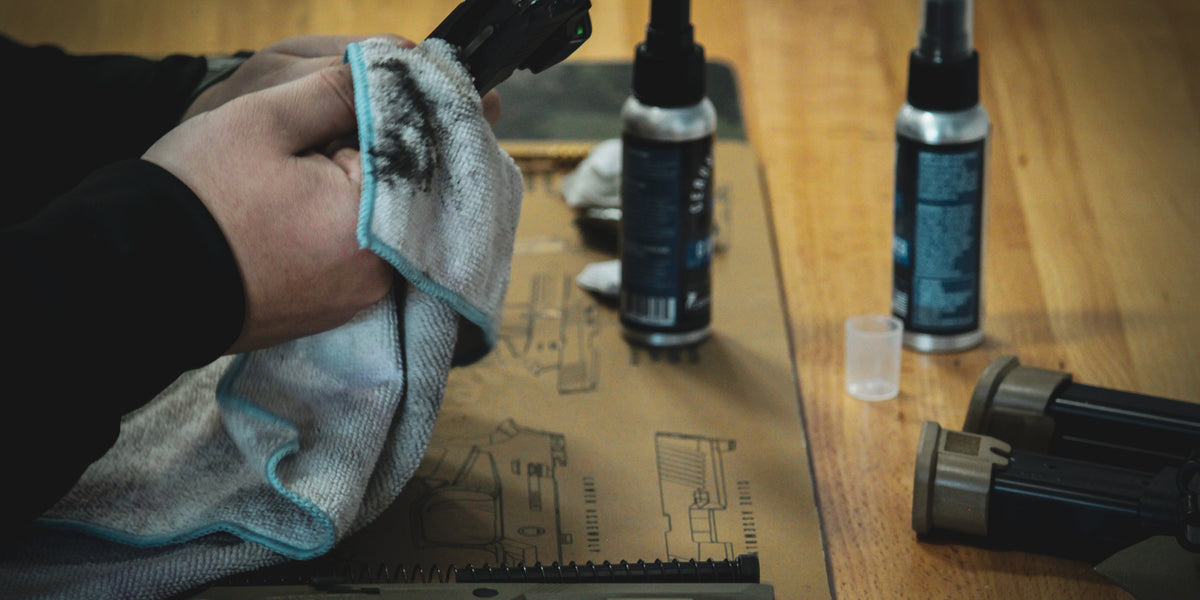
Gun Cleaning Supplies
The following items are the bare minimums that you will need to maintain your handgun. You are going to need to grab a cleaning kit with a cleaning rod, some brushes, cleaner and solvent, and gun oil. Another option for your cleaner can be a CLP. This will depend on your personal preference.
You can’t forget the most important part, though, your Cerus Gear mat. Most kits that you can find at local sporting goods stores or gun ranges should have these supplies, but it is good to double-check before you start.
You should always treat a firearm like it is loaded and make sure that you double and triple-check that the chamber is clear and that the magazine has been removed from the gun. Even if you have been around firearms for years, don’t let a second of carelessness ruin the rest of your day or your life... We recommend putting any ammo outside of your workspace so you don’t accidentally grab it. Once the gun is clear and you have all the supplies, you are ready to start.

Disassembly and Cleaning
This process will be different depending on the type of handgun you own. The steps that you will see work with most Sig Sauer, Smith and Wesson M&P Series, Springfield Hellcat, Hellcat Pro, and XD family, FN 509 Family, HK VP9, VP40, and many others. If you did not see your handgun on this list, then refer to your owner's manual on how to take it apart. If you have any questions, please reach out to us at support@cerusgear.com, and we will take care of your questions.
You should already have a clear firearm, but we are going to double-check. Remove the magazine from the gun and make sure that the chamber is empty. I personally rack the slide a few times and then visually check that the chamber is clear. Then you are going to pull the slide back and push up on the slide stop to hold it into place.
Releasing the Slide from the Frame
We are then going to push the takedown lever downwards 90 degrees. Release the slide release slowly and, while holding onto the slide, press the trigger, making sure that your gun is pointed in a safe direction. This will release the slide from the frame, and you should have 2 parts at this time: the slide and frame.
We will finish taking everything else out that we need. Starting with the Guide Rod. It is located just underneath the barrel and looks like a giant spring. Be careful as you remove this because it is under some tension and can shoot across your room if you are not careful.
Then we will remove the barrel from the slide. Grab the barrel and push forward and pull down to remove it from the slide. You should have 4 pieces at this time: the slide, frame, guide rod, and barrel.

If you are using a spray solvent, then you can spray down your slide, trigger assembly, and set those aside to rest. This will let the cleaner start working to break down the carbon build up.
How to Clean, Oil, and Maintain Each Part
Now that we have everything taken down, we can start cleaning. Grab your cleaner, whether that is a CLP or a traditional three-step cleaner. We will also have a blog coming out talking about the advantages and disadvantages of both. We are going to apply a little bit of our cleaner (CLP or Bore Cleaner) to the bore brush. Make sure to push the brush in the same direction the bullet travels. This is going to release all of the lead and carbon build up that is in your barrel.
Next, we are going to remove the bristle brush. After you have removed it, you are going to use a brass jag and cleaning pads. You will push this through dry in the same direction the bullet travels, you will do this until the pad comes out mostly clean, it does not have to be perfect.
Once your pad comes out mostly clean, we are going to apply some oil to a pad and run that through the barrel. The key here is to not use more than is needed. Less is more in this instance. Only apply the oil or CLP to your patch; too much oil will cause carbon build up faster.

Next, you are going to apply your cleaner to a toothbrush and scrub down the entire gun, focusing on all the parts where carbon build up occurs the most. This includes the trigger assembly, the feed lip, and the entire slide. Don’t over do it on the cleaner, but feel free to apply more as needed to the toothbrush.
Now that we have scrubbed everything down, we are going to take a rag and wipe everything down. If you do not have a rag, then take some of your patches and use those, making sure you get into those hard to reach places.

The last step that we need to complete is giving everything a nice layer of oil or CLP. You can use the rag that you used to wipe everything down. Once again, less is more, but we want to oil those high friction places on the slide and frame. We have added an image to help show you where to apply your lubricant. You also want to apply lubrication to the barrel and for some guns, your guide rod (such as this Sig p320).
Once you have applied lubrication everywhere, it is time to assemble your handgun. We are just going to reverse the process used to disassemble the firearm to reassemble it. Start by putting the barrel back into the slide, followed by the guide rod. Then, put the slide pack onto the frame of the handgun and lock it back using the slide lock.
Move the takedown lever back into place and slowly release the slide. I like to rack the slide a few times to make sure the oil is applied everywhere. Then point the gun in a safe direction and press the trigger to make sure everything is in working order, and then you are done.
Conclusion
It is important to notice that you can overclean your firearms. There is no need to clean your gun every day or every week if you only shoot once a month. I typically clean my carry gun after 500ish rounds. So maybe once every 2-3 months. Firearms are tools for a job; they are designed to be used. If you have any questions, please reach out to us and we will answer them!


